How does a Chairside Wet Milling Machine work?
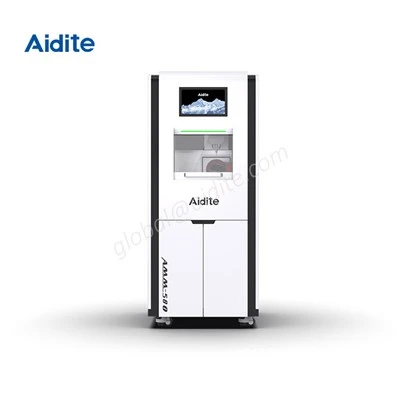
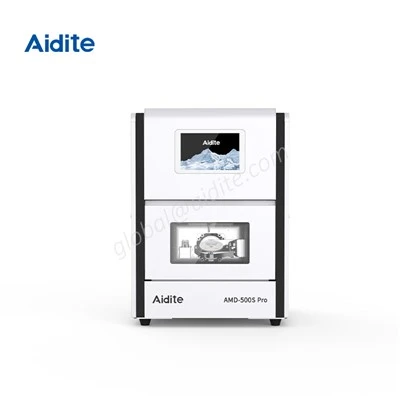
As a provider of Chairside Wet Milling Machines, I'm often asked about the working principles of these remarkable pieces of equipment. In this blog, I'll explain in detail how a Chairside Wet Milling Machine operates, demystifying the process and highlighting its importance in modern dental practices.
Understanding the Basics
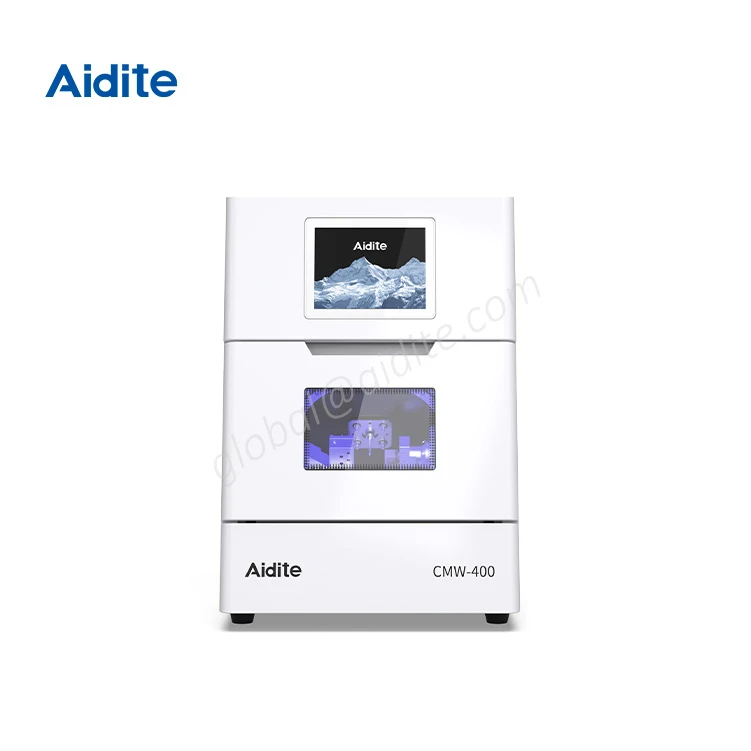
Before diving into the working mechanism, let's briefly understand what a Chairside Wet Milling Machine is and why it's significant. Chairside milling machines are essential in the world of dentistry, allowing for the on - the - spot creation of dental restorations such as crowns, bridges, and inlays. The "wet" aspect refers to the use of a coolant, typically water, during the milling process. This coolant serves multiple purposes, including reducing heat generated by the cutting tools, minimizing wear and tear on the tools, and improving the quality of the finished product.

Step 1: Digital Design
The process begins with digital design. The dentist uses a digital scanner to capture an accurate 3D image of the patient's tooth or teeth. This scanner can be intra - oral, which means it is placed directly inside the patient's mouth, or extra - oral, where a physical impression is first taken and then scanned. The scanned data is then transferred to a computer - aided design (CAD) software.
In the CAD software, the dentist or a dental technician designs the dental restoration according to the patient's specific needs. They can adjust the size, shape, and fit of the restoration, taking into account factors such as occlusion (how the teeth fit together), aesthetics, and the patient's bite pattern. Once the design is finalized, the CAD software generates a digital file that contains all the necessary information for the milling process.
Step 2: Selecting the Material
After the digital design is complete, the appropriate material for the dental restoration must be chosen. There are various materials available for use in Chairside Wet Milling Machines, including ceramics, composite resins, and metals. The choice of material depends on factors such as the location of the restoration in the mouth, the patient's aesthetic preferences, and the expected durability of the restoration.
For example, if the restoration is a front tooth where aesthetics are crucial, a ceramic material might be selected for its natural - looking appearance. On the other hand, for a molar restoration that will endure significant chewing forces, a metal or a high - strength ceramic might be a better choice.
Step 3: Loading the Material and the Machine
Once the material is chosen, it is loaded into the Chairside Wet Milling Machine. The material is typically in the form of a blank, which is a pre - shaped block of the chosen material. The blank is securely fixed into the machine's chuck or holding device to ensure stability during the milling process.
The machine is then prepared for operation. This includes setting up the coolant system. The coolant, usually water mixed with a small amount of lubricant, is fed into the milling area through a series of nozzles. The flow rate and pressure of the coolant are carefully adjusted to ensure optimal cooling and lubrication during the milling process.
Step 4: Milling Process
The digital file created in the CAD software is transferred to the computer - aided manufacturing (CAM) system of the Chairside Wet Milling Machine. The CAM system interprets the digital file and generates a set of instructions for the machine's cutting tools.
The milling machine is equipped with one or more cutting tools, such as end - mills and drills. These tools are made of high - strength materials like carbide to withstand the forces involved in cutting through the dental materials. The machine's spindle rotates the cutting tools at high speeds, typically ranging from several thousand to tens of thousands of revolutions per minute (RPM).
As the cutting tools rotate, they move along multiple axes (usually three to five axes) to remove material from the blank according to the design specified in the digital file. The coolant continuously flows over the cutting area, cooling the tools and the workpiece, and flushing away the debris generated during the cutting process. This helps to prevent overheating, which could cause damage to the tools and the material, and also ensures a smooth and accurate cut.
The milling process can take anywhere from a few minutes to half an hour or more, depending on the complexity of the restoration and the type of material being milled. During this time, the machine operates with high precision, creating a dental restoration that closely matches the digital design.
Step 5: Finishing and Polishing
Once the milling process is complete, the dental restoration is removed from the machine. It may require some finishing and polishing to achieve the desired surface smoothness and aesthetics. This can be done using a variety of hand - held tools and abrasive materials.
The finishing process involves removing any rough edges or burrs left by the milling process and refining the shape of the restoration. Polishing is then carried out to give the restoration a smooth, shiny surface that resembles natural teeth. This step is crucial for both the appearance and the functionality of the restoration, as a smooth surface is less likely to accumulate plaque and bacteria.
Advantages of Chairside Wet Milling Machines
The use of Chairside Wet Milling Machines offers several advantages in dental practices. Firstly, it allows for same - day dental restorations, which is highly convenient for patients. Instead of having to make multiple visits to the dentist, the patient can have their restoration created and placed in a single appointment.
Secondly, the wet milling process improves the quality of the dental restorations. The use of coolant reduces heat and friction, resulting in a more accurate and durable restoration. Additionally, the precision of the milling process ensures a better fit, which can lead to improved patient comfort and long - term success of the restoration.
Related Products
If you're interested in exploring other types of milling machines for dental applications, we also offer a range of high - quality products, including:
- 5 - Axis Dental Metal Milling Machine: Ideal for creating complex metal dental restorations with high precision.
- Dental Milling Machine with Automatic Disc Changer: This machine offers increased efficiency and productivity with its automatic disc changing feature.
- Wet Dental Milling Machine for Glass Ceramic: Specifically designed for milling glass ceramic materials, ensuring excellent results.
- Chairside Milling Machine: A reliable option for on - the - spot dental restoration creation.
- And of course, our Chairside Wet Milling Machine, which combines the benefits of chairside operation and wet milling technology.
Contact and Purchase
If you're considering adding a Chairside Wet Milling Machine or any other dental milling equipment to your practice, we're here to help. Our team of experts can provide you with detailed information, answer your questions, and assist you in making the right choice for your specific needs. Contact us to start a purchase negotiation and take your dental practice to the next level.
References
- Dental CAD/CAM Technology: Principles and Applications. John Wiley & Sons.
- Handbook of Dental Materials and Therapeutics. Elsevier.